


How To Do Hanging Indent On Google Docs? A Complete Guide
Formatting academic papers can be frustrating. You finish writing your references, then realize they don't look right. The second lines need to be indented, but the first lines should stay flush left. This is called a hanging indent.
Learning how to do a hanging indent on Google Docs takes about thirty seconds once you know where to look. The feature hides in a menu most people never open. I've watched students struggle with the Tab key for twenty minutes when a simple menu option solves everything.
APA, MLA, and Chicago style all require hanging indents for reference lists. Your professor will notice if you skip this step. Here's exactly how to get it right.
What Is a Hanging Indent?

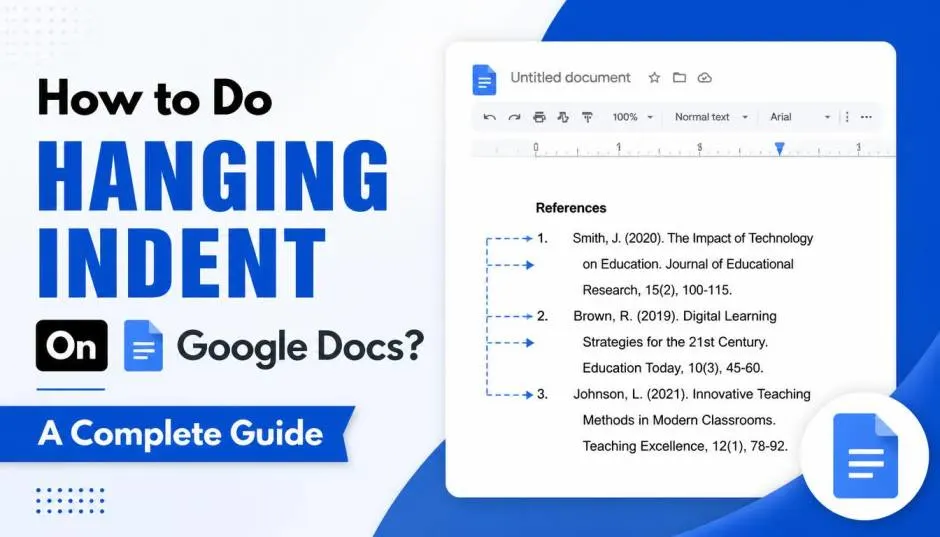
A hanging indent flips normal paragraph formatting. The first line starts at the left margin. Every line after that indents inward, usually by half an inch.
Think of it like a reverse paragraph. Normal paragraphs indent the first line. Hanging indents do the opposite.
Read Also: How to Change Background Color of One Page in Google Docs?
This format makes reference lists easier to scan. Each new citation starts at the same left position. You can spot authors and titles quickly because your eye follows a consistent pattern down the page.
Why Google Docs Hides This Feature?
Google Docs doesn't put hanging indent in the toolbar. You won't find a button for it. The feature lives inside the Format menu under Indentation options.
This placement confuses new users. Microsoft Word puts hanging indent in the paragraph dialog box. Google Docs buries it three clicks deep.
The good news? Once you learn the path, you'll never forget it. The steps take seconds after the first time.
Method 1: Using the Format Menu
This method gives you precise control. You can set exact measurements and apply the indent to multiple paragraphs at once.
Step-by-Step Instructions
Step 1: Select your text
Open your Google Docs document. Highlight the paragraphs you want to format. You can select one citation or your entire reference list. Click and drag to select multiple entries.
Step 2: Open the Format menu
Look at the top menu bar. Click "Format." A dropdown menu appears.
Step 3: Navigate to Indentation options
Hover over "Align & indent." A submenu opens. Click "Indentation options". A dialog box appears.
Step 4: Choose Hanging indent
Find the "Special indent" dropdown. Click it and select "Hanging". The default measurement is 0.5 inches.
Step 5: Apply the setting
Click the blue "Apply" button. Your selected text now has a hanging indent.
The whole process takes less than thirty seconds. The 0.5-inch default matches APA and MLA requirements.
Method 2: Using the Ruler
Some people prefer dragging markers to clicking menus. The ruler method works faster once you understand the controls.

Understanding the Ruler Markers
First, make sure your ruler is visible. Go to "View" in the top menu. Check "Show ruler" if it's not already enabled.
You Must Also Like: Google Docs Rolling Out Customizable Table of Contents
Look at the left side of the ruler. You'll see two blue markers. The top triangle controls the first line indent. The bottom triangle controls the left indent for the rest of the paragraph.
Creating the Hanging Indent
Step 1: Select your paragraphs
Click and drag to highlight the text you want to format.
Step 2: Move the left indent marker
Drag the bottom blue triangle to the right. Move it to the 0.5-inch mark. This pushes all lines inward.
Step 3: Move the first line marker back
Drag the top blue triangle back to the left margin. Place it at 0 inches. This pulls the first line back to its original position.
The result is a hanging indent. The first line sits at the margin. Everything else indents by half an inch.
This method feels fiddly at first. But with practice, it becomes the fastest way to format references.
Which Method Should You Use?
The Format menu method wins for precision and consistency. You type exact measurements instead of eyeballing ruler positions.
The ruler method works well for quick adjustments. But it's easier to make mistakes. You might accidentally move the wrong marker.
For academic papers, use the Format menu. Set 0.5 inches and apply it to your entire reference list at once. This ensures uniform formatting across all entries.
Applying Hanging Indents to Multiple Entries
Don't format each citation individually. That wastes time and creates inconsistency.
Select your entire reference list before applying the indent. Click at the start of the first citation. Hold Shift and click at the end of the last citation. Now all entries are selected.
Apply the hanging indent once. Google Docs formats every selected paragraph the same way.
If your list breaks across pages, select each section separately. Headings shouldn't inherit the indent format.
Common Problems and How to Fix Them
1: The Indent Doesn't Apply
Sometimes you select text and apply the hanging indent, but nothing changes. This usually means you didn't select the right text.
Click inside the paragraph first. Then select the full text you want to format. Try again.
2: The First Line Also Indents
If your entire paragraph moves right, you've applied a first-line indent instead of a hanging indent.
Go back to Indentation options. Make sure "Hanging" is selected, not "First line." The special indent dropdown controls this setting.
3: Manual Tabs Create Messy Formatting
Many people try to create hanging indents by pressing Tab on every line after the first. This approach fails.
Manual tabs break when text wraps differently. They create inconsistent spacing. They don't adjust when you change fonts.
Remove all manual tabs and spaces. Apply the proper hanging indent using the Format menu. The result looks cleaner and stays consistent.
4: The Ruler Method Isn't Working
If dragging markers doesn't work, check your ruler visibility. Go to View and ensure "Show ruler" is checked.
Also verify you're dragging the correct marker. The bottom triangle controls the left indent. The top triangle controls the first line.
Hanging Indents on Mobile Devices
Google Docs mobile app doesn't support hanging indents. This feature only works on desktop computers.
If you need to format references, use a computer. The mobile app works for writing and basic editing. But complex formatting requires the desktop version.
Creating a Reusable Style
If you format references often, create a paragraph style. This saves time on future documents.
Step 1: Format one citation with the hanging indent exactly how you want it.
Step 2: Select that formatted paragraph.
Step 3: Go to Format > Paragraph styles > Normal text.
Step 4: Click "Update 'Normal text' to match."
Step 5: Go to Format > Paragraph styles > Options.
Step 6: Select "Save as my default styles."
Now every new document uses this formatting automatically. You never need to manually apply hanging indents again.
Style Guide Requirements
Different citation styles have specific requirements. Always check your assignment guidelines.
APA Style: Requires 0.5-inch hanging indent for all reference list entries. The first line starts at the margin. Subsequent lines indent half an inch.
MLA Style: Uses the same 0.5-inch hanging indent for works cited pages.
Chicago Style: Also requires 0.5-inch hanging indents for bibliography entries.
The default Google Docs setting matches all three styles. Unless your professor specifies otherwise, 0.5 inches works perfectly.
Quick Reference Summary
Format Menu Method:
-
Select text
-
Format > Align & indent > Indentation options
-
Special indent > Hanging
-
Set 0.5 inches
-
Click Apply
Ruler Method:
-
Select text
-
Drag bottom triangle to 0.5 inches
-
Drag top triangle to 0 inches
Both methods produce identical results. Choose whichever feels more comfortable.
Final Thoughts
Hanging indents aren't complicated once you know the steps. The feature hides in Google Docs, but it works perfectly when you find it. Use the Format menu for precise control.
Apply the indent to your entire reference list at once. Save a paragraph style if you format papers regularly. Your references will look professional. Your professors will notice the attention to detail. And you'll never struggle with manual tabs again.
The whole process takes thirty seconds. Learn it once, use it forever.